Follow these steps to add a landing page thumbnail/preview in your email to increase conversion rates by an average of 47%!


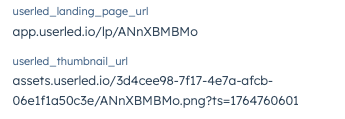
You can check how its stored in Hubspot by viewing an account or a contact record, and inspect the property. This guide is not using https protocol as shown with the screenshot below.
The guide below uses a contact based campaign, using properties that are stored in Hubspot Contacts
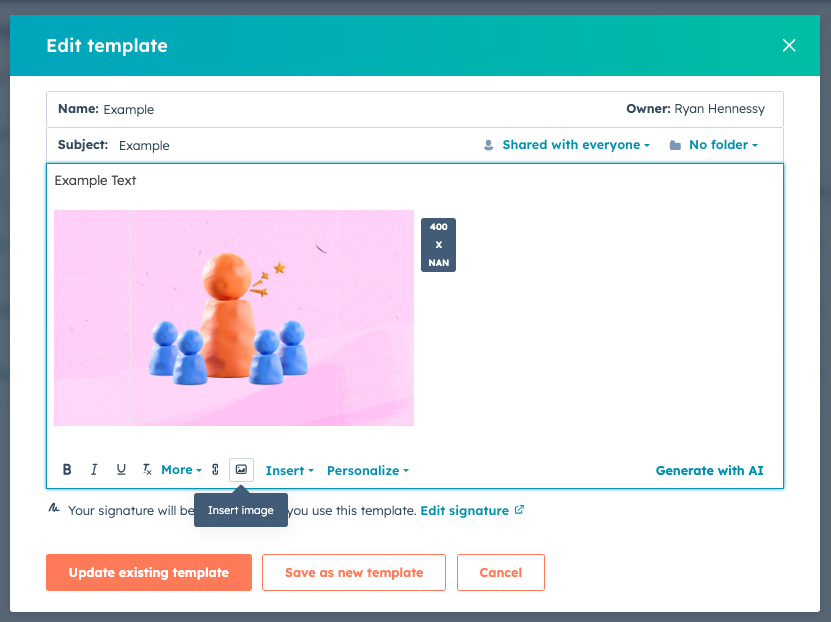
First, go to the email template editor in the sequence. Add one image to it along with some text, as HubSpot won’t let you save without text. This can be a random placeholder image for now, as in a later step, we will update the image to be dynamic based on a property in your CRM.
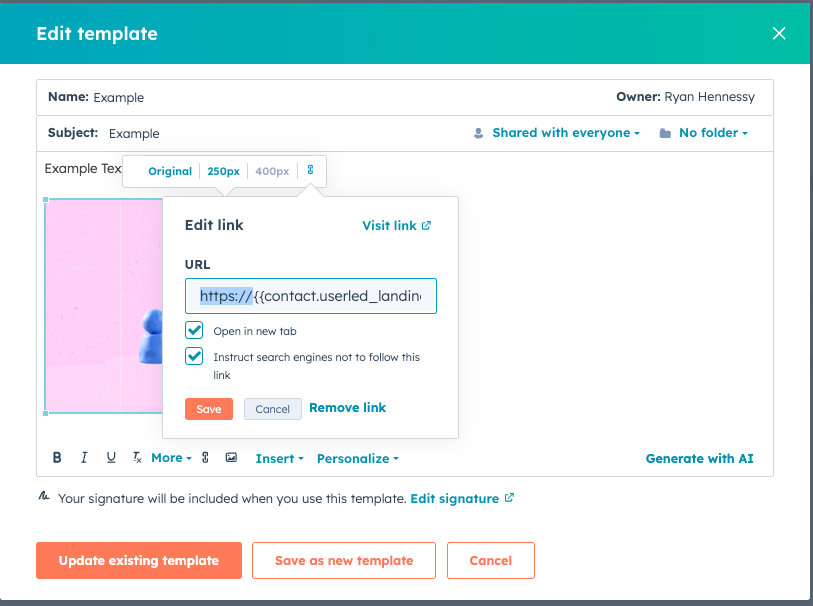
This wraps your image in a link that will make the thumbnail clickable in your email.
You can add a variable to the URL for the link to be dynamic based on a property in your CRM.
If you named your custom property userled_landing_page_url then you should add this URL as the value https://{{contact.userled_landing_page_url}}
Note:
Use https://{{company.userled_landing_page_url}} for company properties
Toggle both checkboxes above, then click Save.
Open the browser’s development tool, open the network tab and clear everything.

Save/update the template (this will close the preview window and is expected).
Right click the row that starts with templates?portalId=... and Copy as fetch (4th option shown)
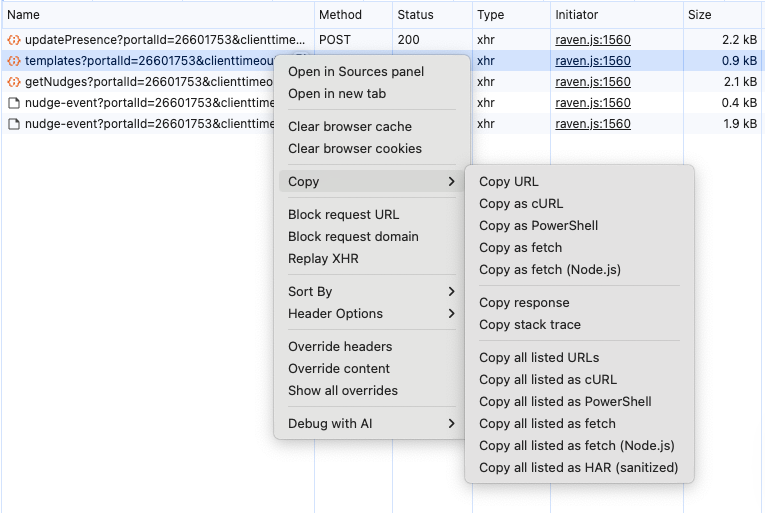

Now, go to the Console tab in the same developer tool, and paste what you just copied in. Look for img src in the text. This helps you find the image element you’ll want to update.
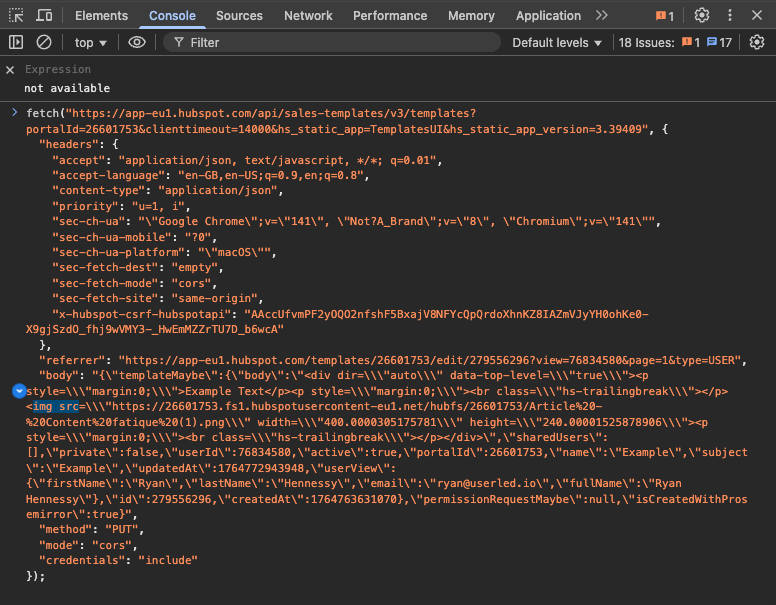
Now, to change the image element. We’ll want to update the image itself to use the variable that represent’s the thumbnail URL.
For img src, replace the src with the property you want. (Note that you may need to add https:// if you are not including that in the url.)
In the screenshot below, we use a variable called contact.userled_thumbnail_url.
This is what we replace the dummy image URL with https://{{contact.userled_thumbnail_url}}
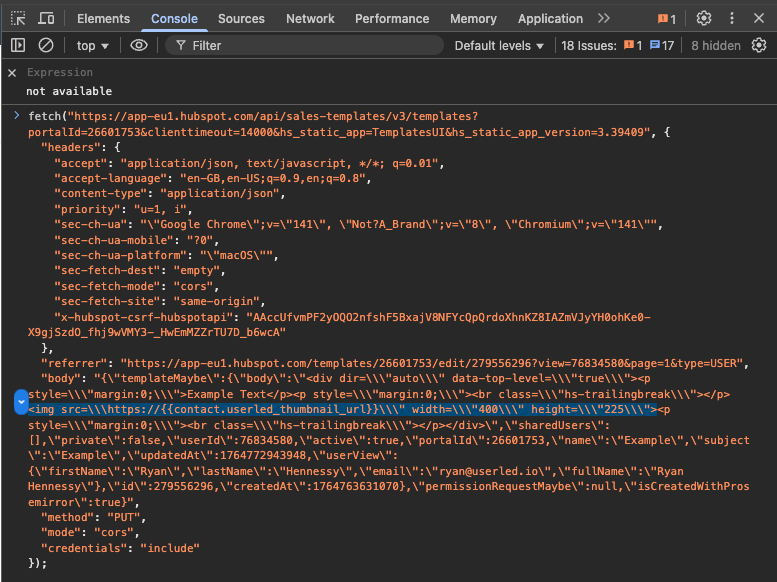
We can also set the width and height here. The full <> we’ve used here is:<img src=\\\https://{{contact.userled_thumbnail_url}}\\\" width=\\\"400\\\" height=\\\"225\\\">
For the image to be displayed with the correct size, we recommend setting the width and height of the image to one of the following:
Small thumbnail: Width: 250px Height: 140px
Medium thumbnail: Width: 400px Height: 225px (used above)
Large thumbnail: Width: 500px Height: 280px
You can customise the width and height as you wish. We recommend a 16/9 aspect ratio to match the thumbnail’s aspect ratio.
Press enter to submit that request once you are done, refresh the page, and now you should have the image visible in the template.
If everything worked as it should, you should see a response like this in the console, showing no errors (which are usually shown in red).

If you open the template, the image should have changed to look like this. If you click on the image and the link icon, the link’s value should hold the variable you inserted earlier https://{{contact.userled_landing_page_url}}. The width and height should also match the one you specified.
We recommend you test the template before using in cadences to make sure that it works as expected. Be sure that you test in on a contact that has the variables you used filled so that the image thumbnail url and link url are populated properly from the contact’s information.
For this, ensure the fields for the asset URL and thumbnail URL are populated on a contact in your CRM and enrol that contact in a sequence and send the email to see the result. You expect the thumbnail to show in the email and to link to the asset when clicked on.