Starting with microsite templates and images, the guide will show you how Userled can enable 1:1 personalisation with ease.
Microsites can be made in one of two ways:
Importing your own, pre-existing, webpages into the userled template library
Creating a microsite template with the Userled editor

Once you have your template, you can personalise it for your targets either via AI or with Variables.

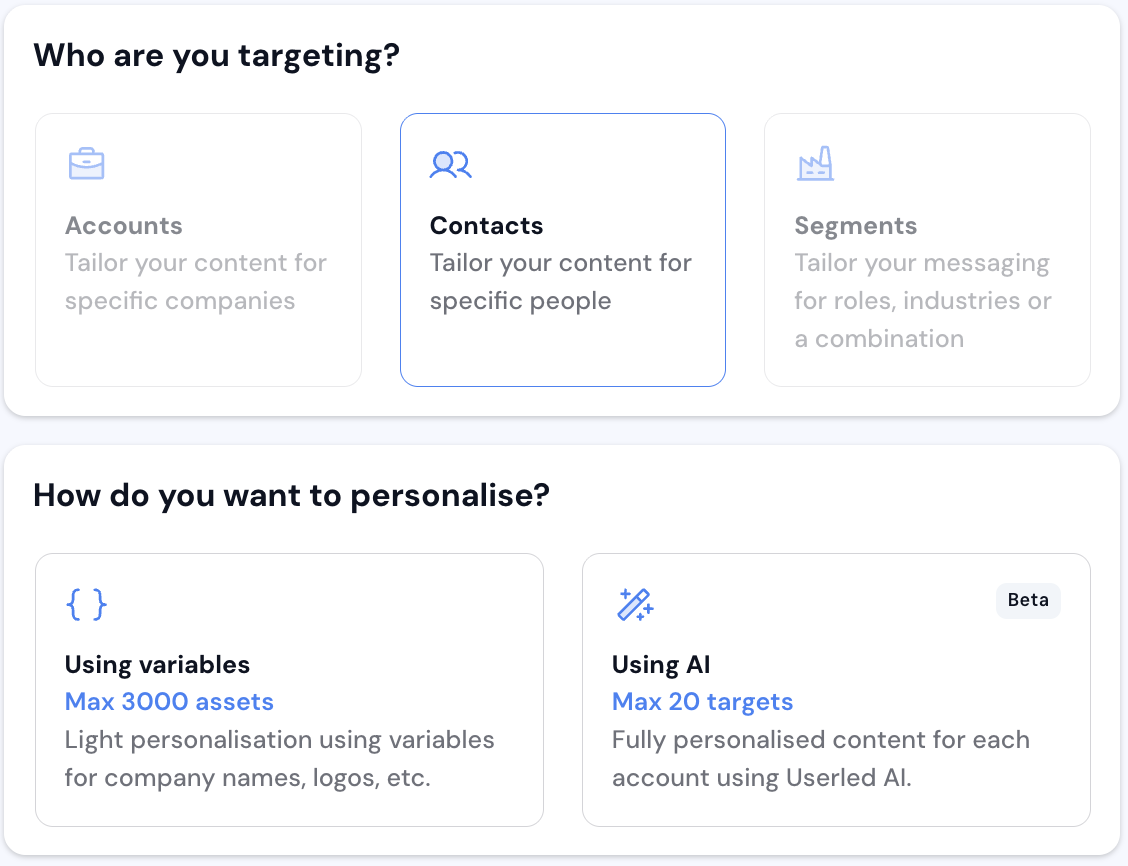
If you have data in your CRM that you wish to use, then Variables are your go-to. For the purposes of this guide, I will use data from HubSpot.
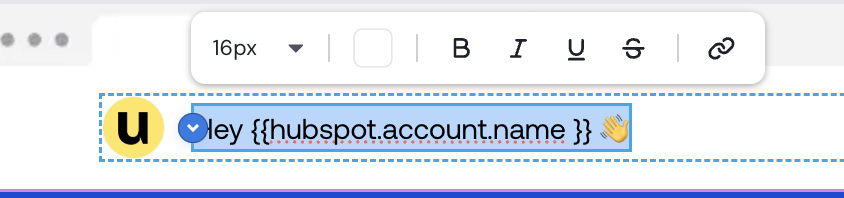
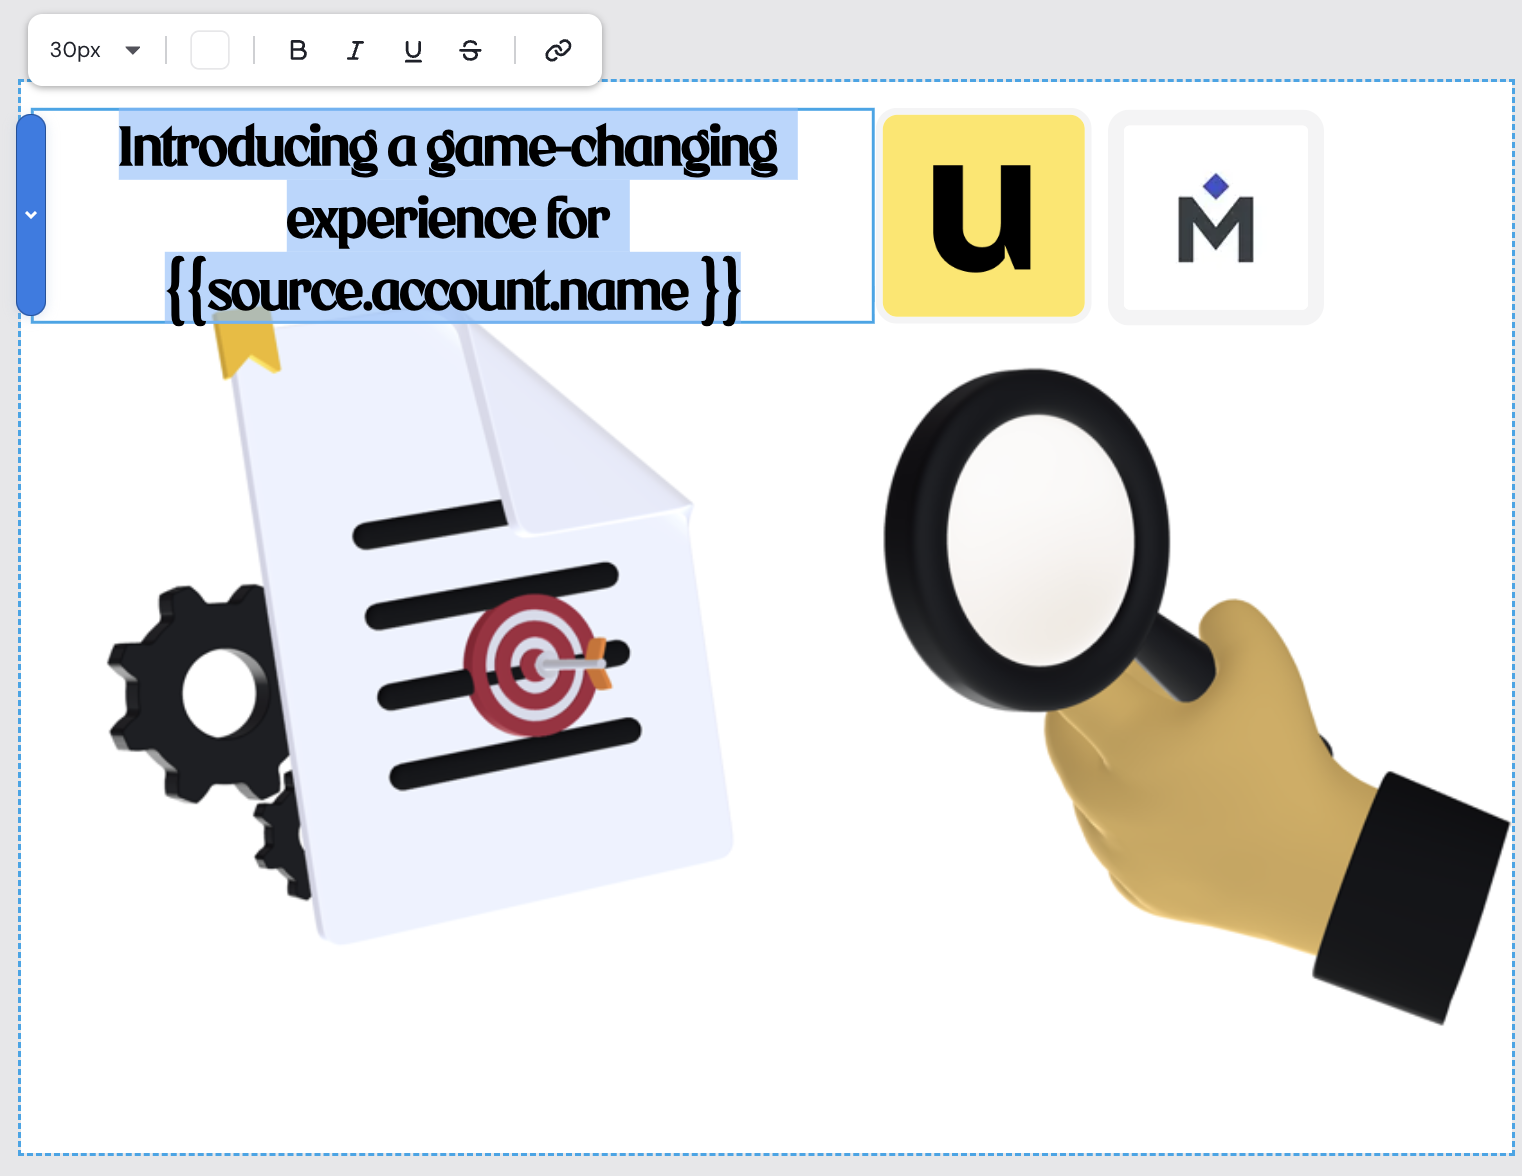
You’re able to insert variables from the campaign source, HubSpot, and the property name. Select the icon { } and search for the variable name as it appears in your CRM.
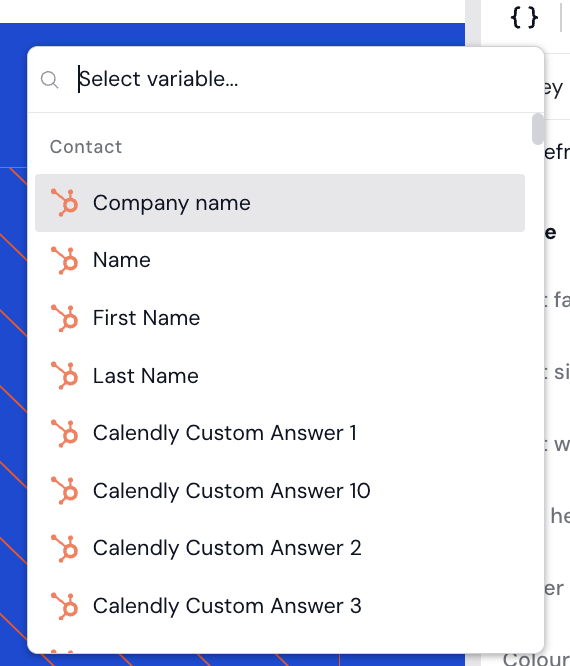
You can then use this variable as a form of placeholder that will then be dynamically populated for each target.
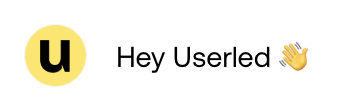
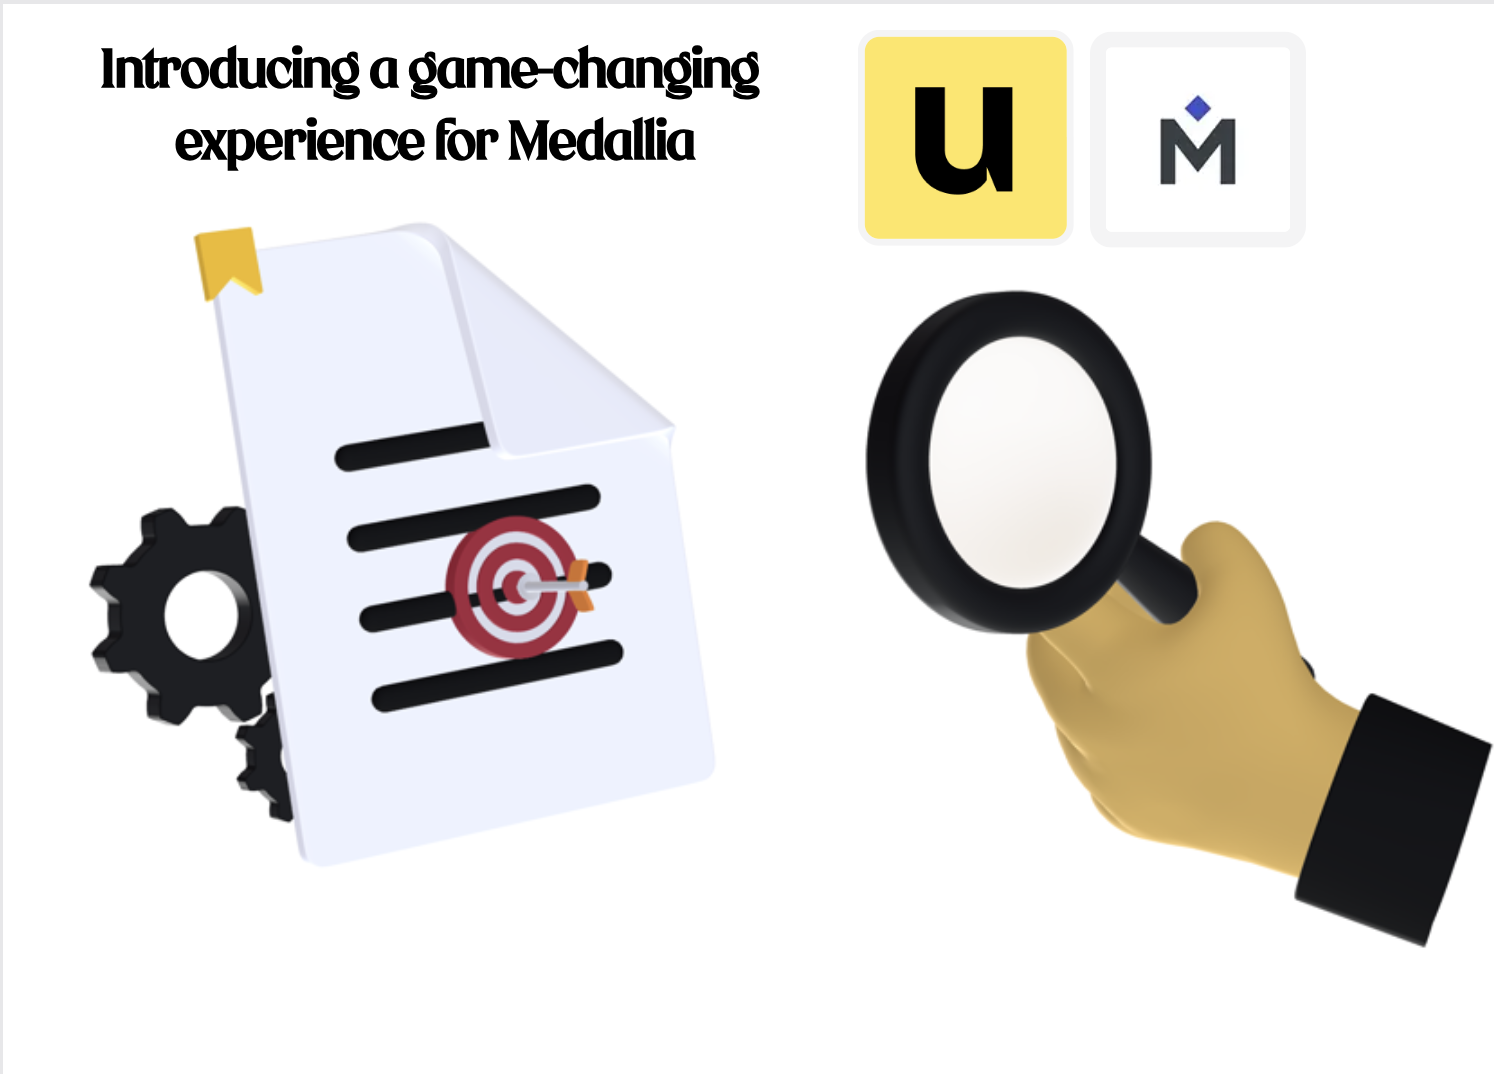
Example: target company = Userled
Becomes:
You can target both contacts and companies with AI inside Userled. Userled will automatically populate the target Product Offerings and the prompt to be used in asset generation.
Optional: Toggle on the creation of images using AI and set brand guidelines in your Userled Brand Kit.
Feel free to edit, but if it all looks good, select Generate.
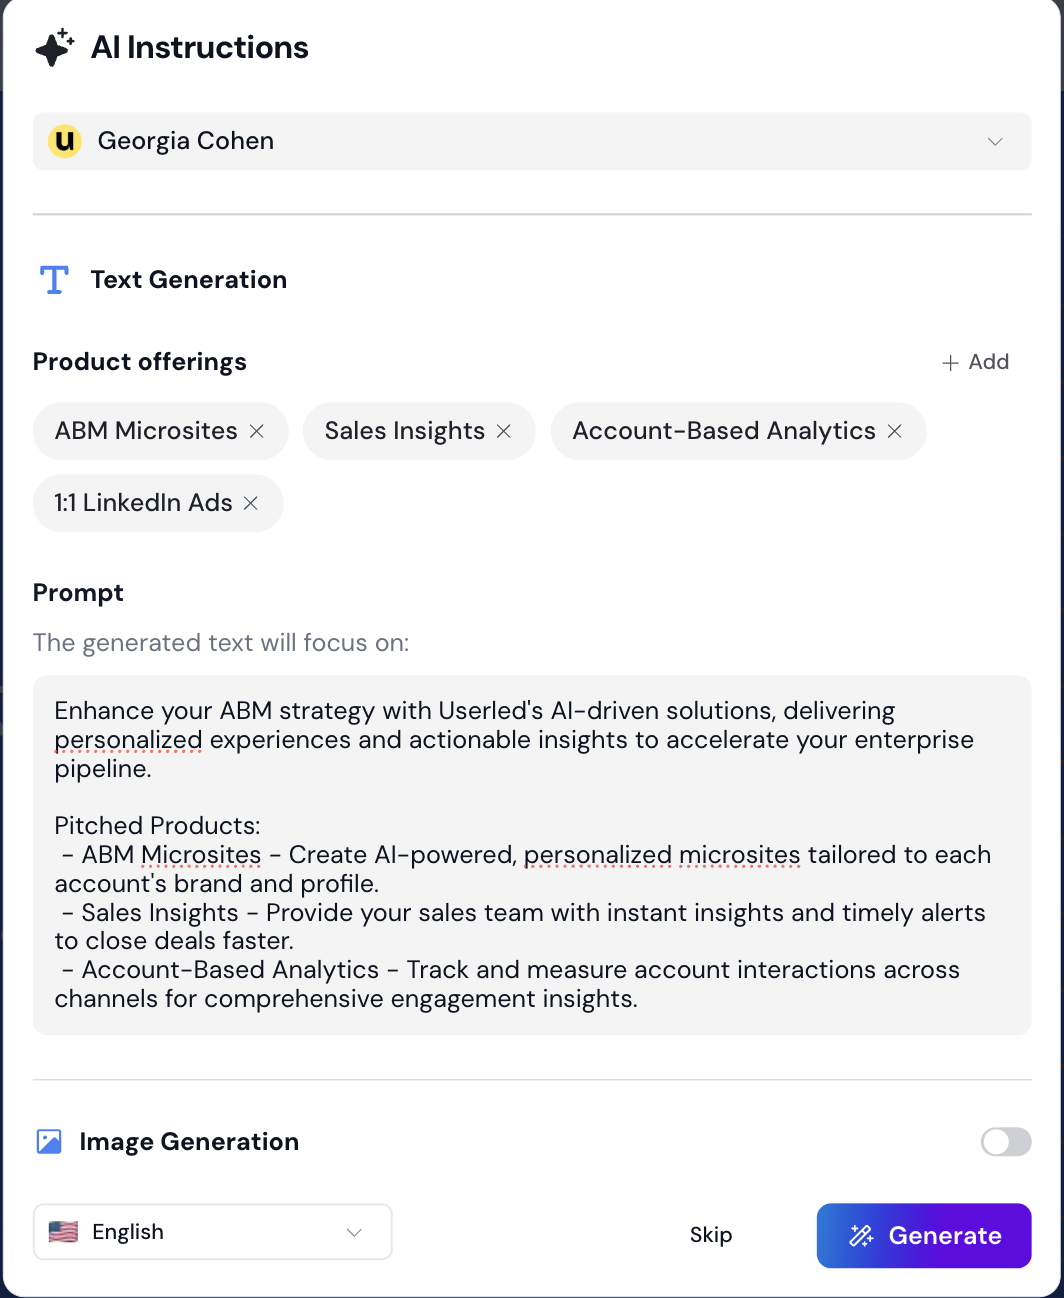
Userled will then automatically build out the page copy based on the template you’ve selected in campaign creation.
Userled lets you personalise images, just as you can with microsites, enabling personalisation at scale.
This allows you to leverage Userled to scale content to target multiple accounts effortlessly.
Head to your template library in Userled. Select Add+ and then Smart Image as shown.

Upload the standard image to Userled via your local files or image URL. You can personalise Ads, email banners, or just general images for later use in Userled Microsites.

You can add text and images that can dynamically change based on your target.
Becomes:
Once you’ve saved your Smart Image, you’re then able to target as many targets as needed, and the image will automatically be personalised to that target.