Content gating is available for:
- Standalone Content Hubs
- Outbound Landing Pages
When email gating is enabled, visitors are asked to submit their first name, last name, and work email address before the asset is shown.
You can configure the following options:
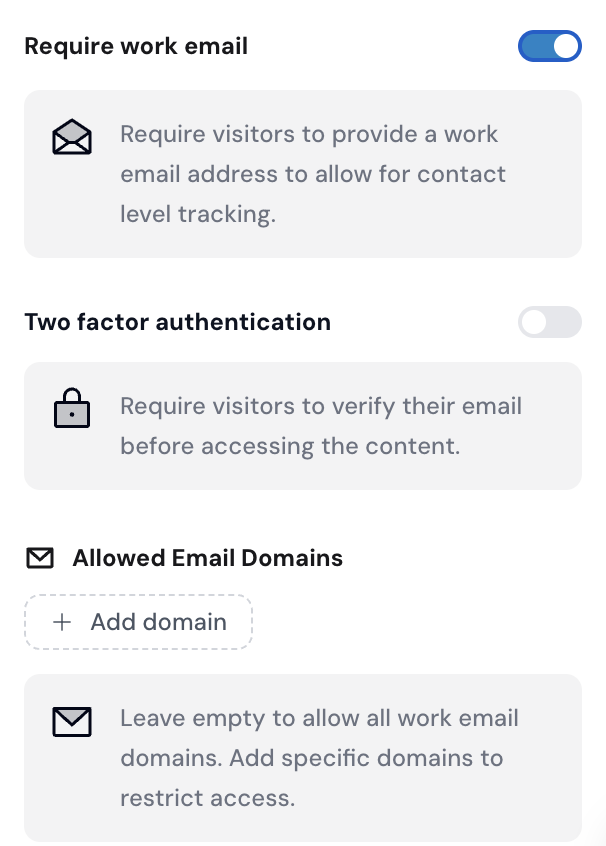
Require work email: Visitors must enter a business email address. Free email providers are not accepted.
Two-factor authentication: Visitors receive a 6-digit code by email and must enter it before they can access the asset.
Allowed email domains: Restrict access to specific company domains. If no domains are added, any valid work email can be used.
1. Open the asset you want to gate in Userled
2. Go to the asset's Settings
3. Find the Content Gating or Email Gating section
4. Enable Email Gating
5. Choose whether visitors must use a Work Email
6. Optional: enable Two-Factor Authentication
7. Optional: add one or more Allowed Email Domains
8. Click Save
Once saved, visitors will need to complete the gating flow before they can view the asset.
If Two-Factor Authentication is enabled, visitors first submit their name and work email address. Userled then sends a 6-digit verification code to that email address.
The visitor must enter the code before the gated asset is shown.
Use Allowed Email Domains when you only want people from specific companies to access an asset.
For example, adding example.com means only visitors with an email address ending in @example.com can access the asset.
If the allowed domain list is empty, any valid work email address can be used.
Gating settings are saved on the asset itself. If you duplicate a campaign, template, or asset, review the copied asset's gating settings before publishing.