Running sequences from Outreach is a very common use case and Userled makes it easy to include personalised content experiences in your outreach campaigns.

If you are looking to send emails to one or a few contacts, the quickest option is to manually export assets from the Distribute tab.
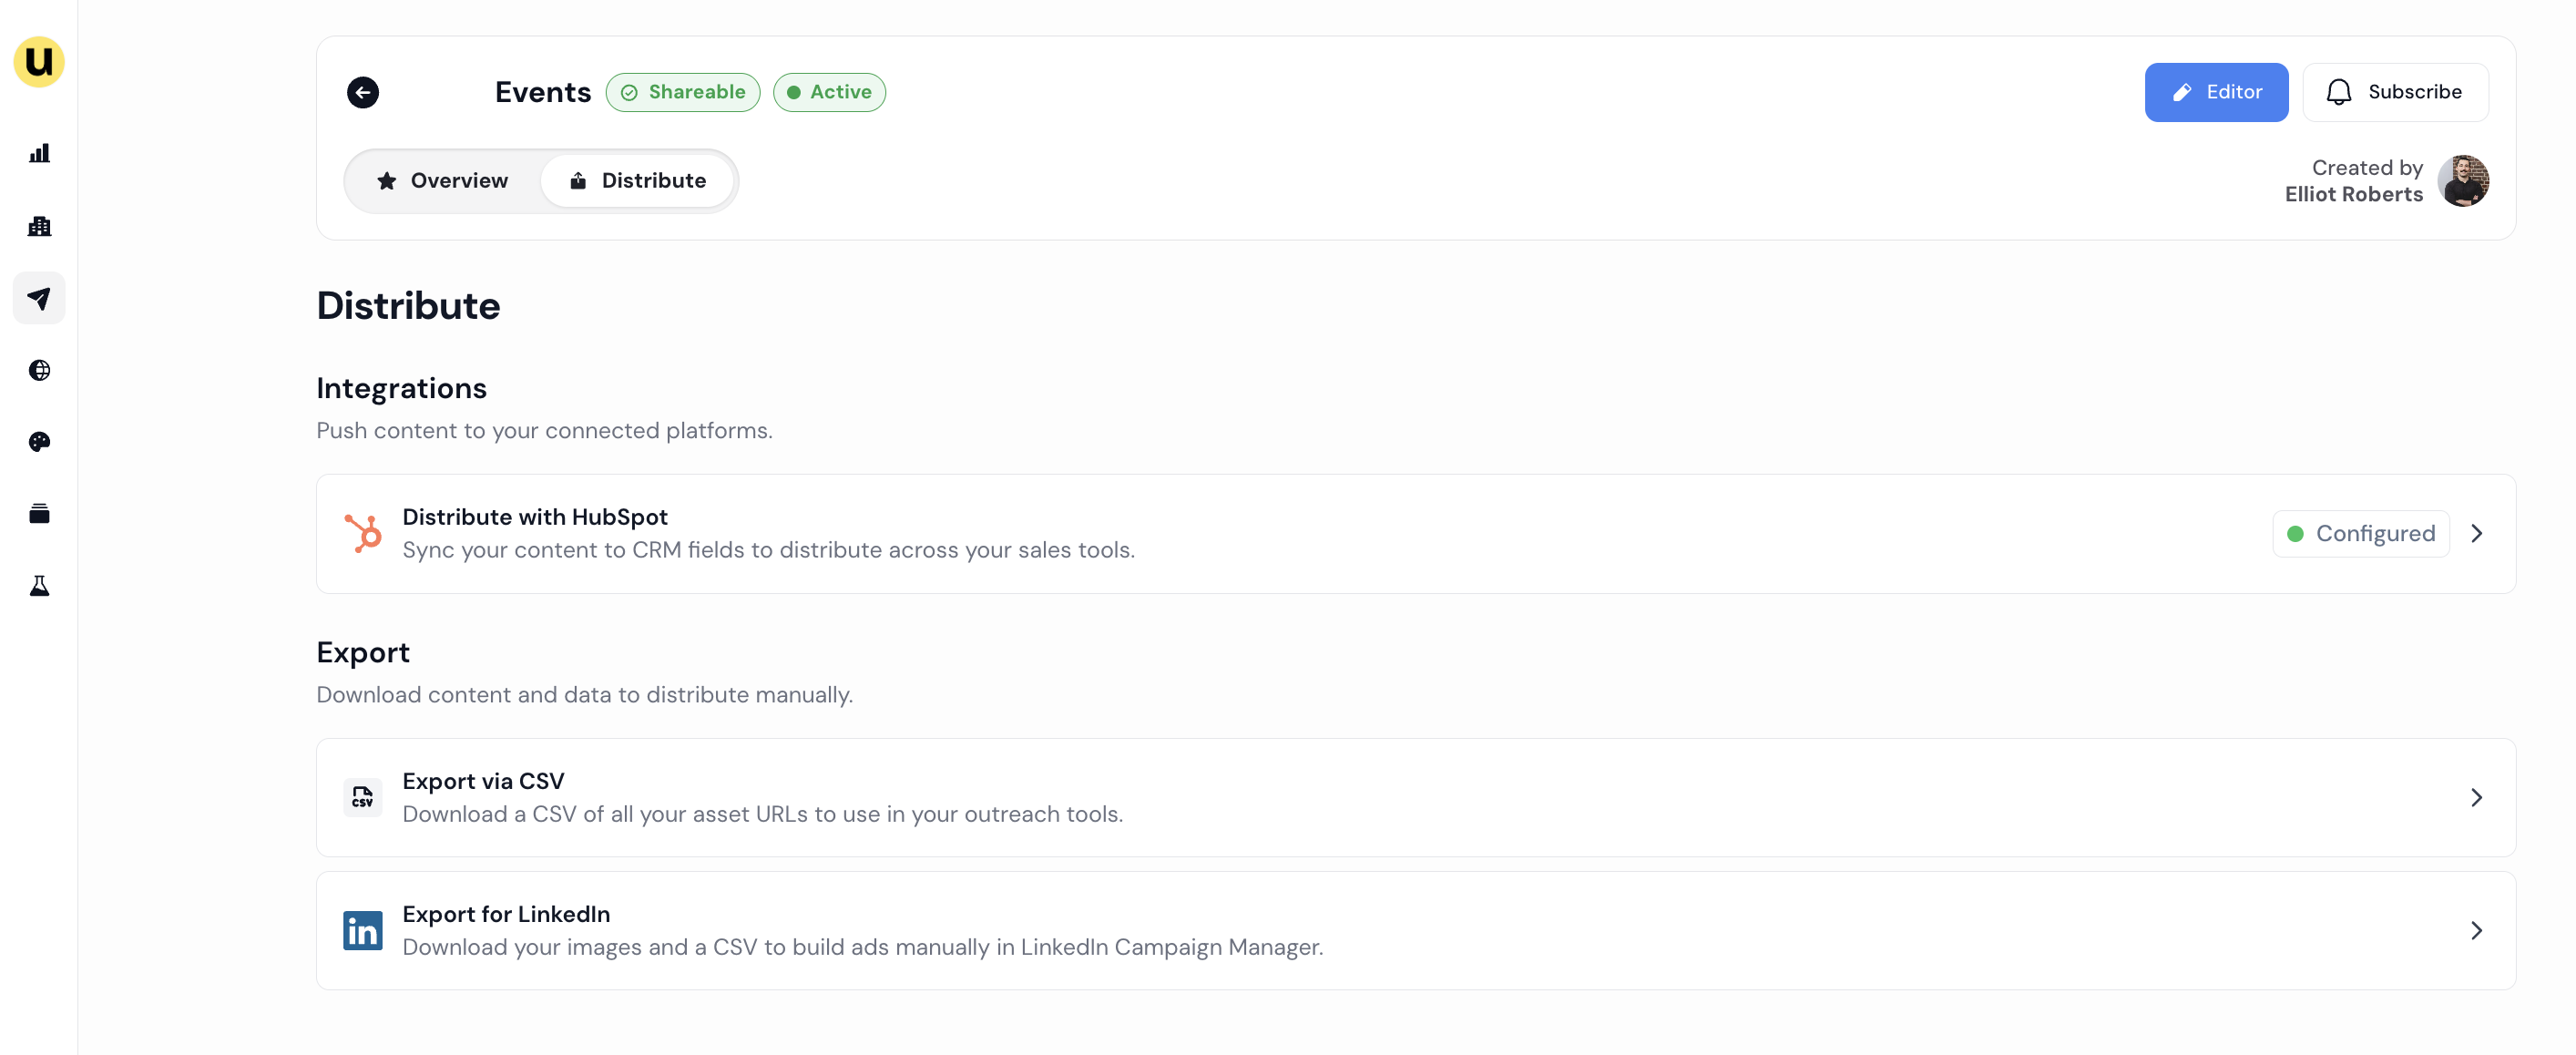
Prerequisite: In order to automate using Userled assets in sequences with many contacts, you must first have exported the assets to your CRM.
Follow our guide Exporting assets to your CRM for more information.
This automated CRM → Outreach flow requires Salesforce or HubSpot connected to Outreach; if you use a different setup (e.g. CSV lists or Marketo), export the asset URLs manually and add them to your prospects.
As your sales sequences target contacts in your CRM, we recommend generating assets based on contact lists already in your CRM and exporting the assets to those contacts.
Once your assets are synced against the contacts in your CRM, you can follow the guide below to learn how to use these in an Outreach sequence.
Before you can reference Userled assets in a sequence, the Userled properties (for example your Userled Landing Page URL and Userled Thumbnail URL) must exist as custom fields in Outreach and be mapped to the matching properties in your CRM. This is what lets the data flow CRM → Outreach automatically, so reps never have to find or paste links by hand.
Access the Outreach Platform.
Click on Administration (Gear Icon).
Click on Prospect (or Accounts) under Records.
Click on the Fields configuration tab, then Add Configuration.
Select the field you want to configure. If the field is already synced with your CRM, you can import the configuration directly from your CRM.
Add a descriptive label, e.g. Userled Landing Page or Userled Thumbnail.
Choose the field type: Text.
Click Save, and note which custom# slot the field occupies — this is the token you'll use in the snippet.
Log in to Outreach as an Admin.
Click Administration.
Navigate to Integrations > CRM.
Click Add mapping.
Map the CRM property (e.g. HubSpot/Salesforce "Userled Landing Page") to the Outreach custom field you just created.
Note: Custom fields exist for the Prospect, Account, and Opportunity objects only (not Call or Email). For sequences, keep the Userled properties on the Prospect object.
After exporting your Userled assets to your CRM and mapping them to Outreach custom fields, you can include personalised landing pages in your Outreach sequences using custom snippets. These snippets allow you to control how the landing page appears in your emails.
Replace {{customUrl}} and {{customThumbnail}} below with the actual {{custom#}} slot numbers assigned to your Userled fields in Outreach (for example {{custom14}} and {{custom15}}). To insert the correct token, type {{ in the compose window and select the field from the variable menu rather than typing it by hand.
Choose the format that best matches your communication style and campaign goals:
Displays both a text hyperlink and a thumbnail image below it.
<div>
<a href="{{customUrl}}">{{PARTNER_NAME}} x {{account.name}}</a>
<div style="margin-top: 10px;">
<a href="{{customUrl}}"><img src="{{customThumbnail}}" alt="Landing page preview" width="400" height="225"></a>
 </div>
</div>{{customUrl}} - Outreach custom field holding the landing page URL
{{customThumbnail}} - Outreach custom field holding the thumbnail image URL
{{PARTNER_NAME}} - Not a standard Outreach variable. Replace it with your company/product name typed directly, or a sender custom field you have set up (e.g. {{sender.custom1}}). Left as-is it will not resolve in Outreach.
{{account.name}} - The prospect's account name (standard Outreach account variable)
Best for: Comprehensive emails that benefit from both text and visual elements.
Displays just a text hyperlink to the landing page.
<a href="{{customUrl}}">Click here to view your personalised page</a>{{customUrl}} - Outreach custom field holding the landing page URL
Best for: Text-based emails or when images might be blocked by email clients.
Displays only a thumbnail image that links to the landing page.
<a href="{{customUrl}}">
<img src="{{customThumbnail}}" alt="Landing page preview" width="400" height="225">
</a>{{customUrl}} - Outreach custom field holding the landing page URL
{{customThumbnail}} - Outreach custom field holding the thumbnail image URL
Best for: Visual emails where the image serves as the primary call-to-action.
Insert {{custom#}} tokens from the Outreach variable menu (type {{ in the compose window). Manually typed variables are a common source of errors.
The Outreach token is the numbered slot ({{custom14}}), not your label ("Userled Landing Page"). Check the field in Records to confirm which slot it occupies.
Always send a test email to yourself before launching a sequence to ensure the snippets render correctly. Use the preview panel —> populated variables turn yellow; missing ones turn red and will block delivery.
Modify the text portions (e.g., "Click here to view") to match your tone and call-to-action strategy.
The default dimensions (400×225) provide a good balance for most email clients, but you can adjust if needed.
Always include descriptive alt text for accessibility and for cases when images don't load.
These snippets can be incorporated into any Outreach sequence template, allowing you to consistently deliver personalised content experiences to your prospects.
If you have any questions, we're here to help! Please feel free to contact us at any time, either through our Slack Community or email your CS point of contact.